As a gamer, maker and designer, I am a huge fan of altering toys and games for more exciting play. Sometimes you just need to make a Nerf dart fly faster or make a toy glow in the dark just for fun. For those that love action games, Hasbro reintroduced the classic Looping Louie this last year with an epic Star Wars version called Loopin’ Chewie. Gameplay is simple: Chewbacca flies in circles trying to knock over Stormtrooper tokens. You defend your tokens by hitting a paddle which can launch the erratic Millennium Falcon away from your troopers and hopefully knock out your opponents. If you are the last to have Stormtroopers, you win.
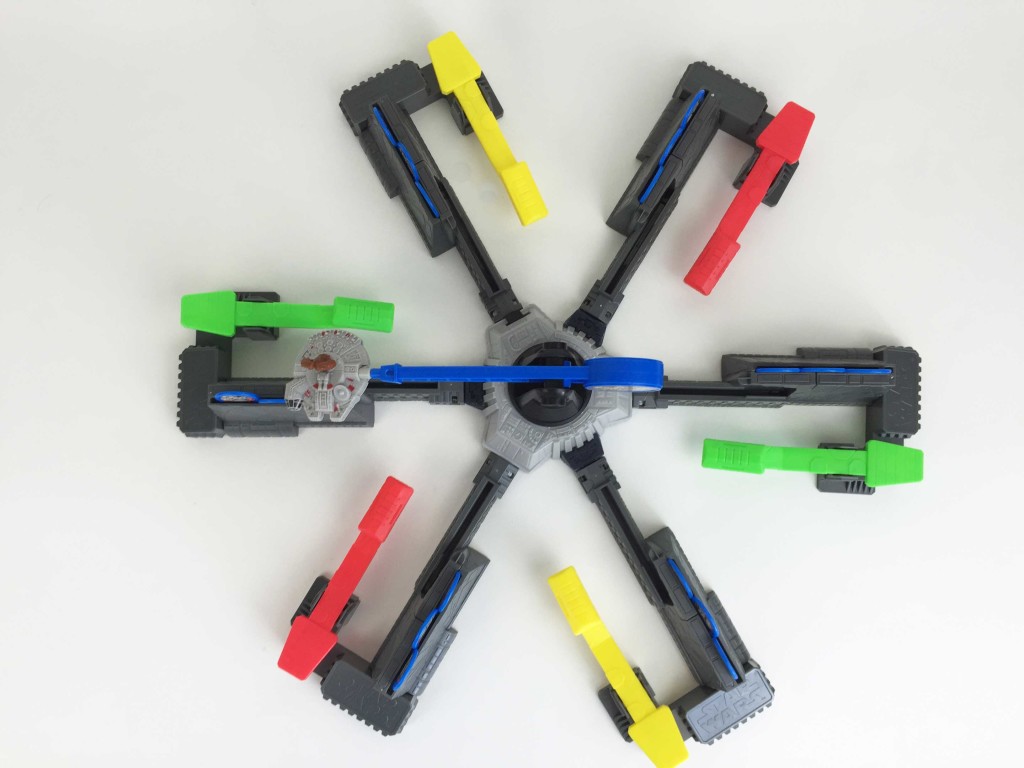
Well, the original Looping Louie was a 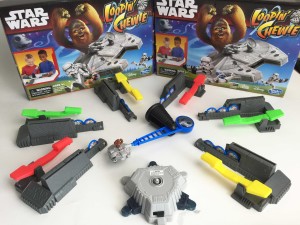 4 player game, and with the reintroduction, the Star Wars edition was dropped to 3 player. While the game is super fun, I wanted to make play a little more interesting by turning it into a 6 player game.
The necessary 6 Player Loopin’ Chewie Conversion files can be downloaded for 3D print using the Thingiverse.com link below, but here is a step by step if you want to make one yourself…
1. Supplies:
- 2 sets of Star Wars Loopin’ Chewie Game,
- 3D printer,
- Ability to create the 3D file (or download here http://www.thingiverse.com/thing:1798407)
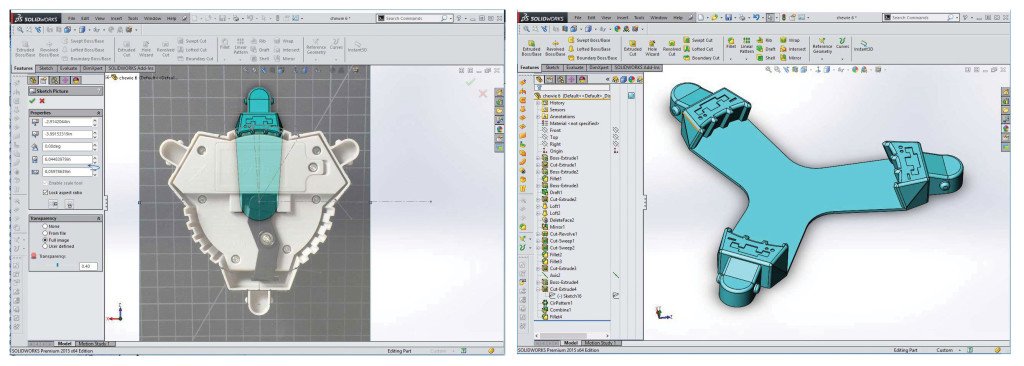
2. Design: Using a photograph of the motorized base as reference geometry, I drew a clip attachment in a 3D CAD software called SolidWorks that would attach to an extra paddle. The base has vertical ridges that come up at an angle, so I was able to use those to help position and hold the part. I used calipers to measure the features on the original base to make sure my geometry was correct. With one extra attachment complete, I simply patterned the geometry 3x around the motorized center.
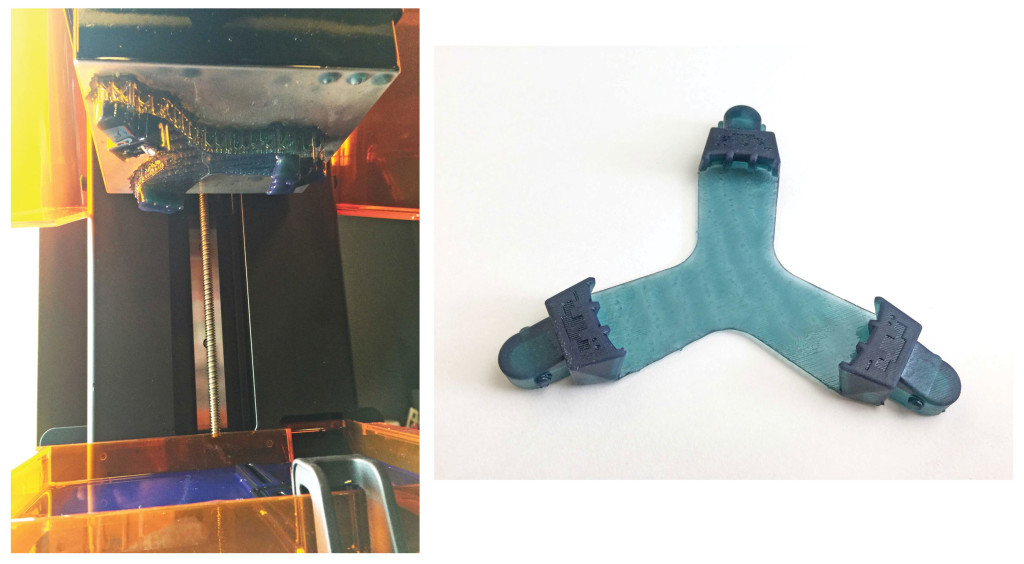
3. 3D Printing: With the 3D file ready, I 3D printed the part on our Formlabs 2 SLA printer out of Tough Resin. This material was ideal since the part has to flex over the base to fit into place… and since it will see proper abuse when things get really competitive. The print took roughly 6 hours and can be seen finished in the machine and with the structural supports removed.
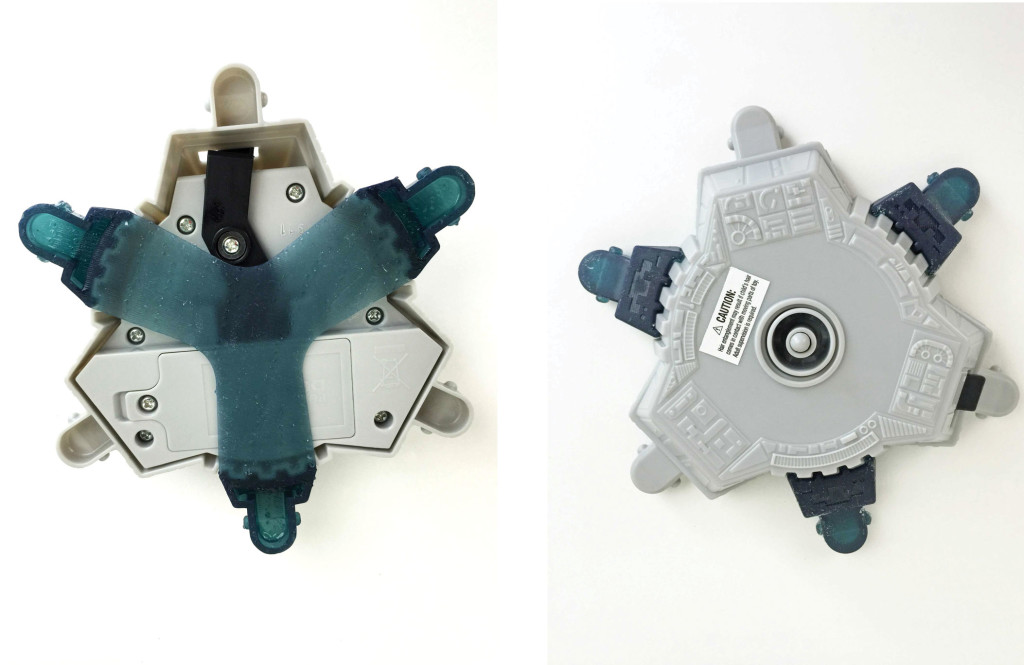
4. Assembly: Clip the 6 Player Conversion over the base from
the bottom. Since the print is semi-flexible, it can deform enough to clip over the angled base. The vertical ridges hold it perfectly in place. Attach the 6 paddles. Be careful though – it’s still a 3D print and not as strong as molded plastic. Assemble 6 competitive Star Wars fans, and prepare for battle.
5. Play: Get ready, cuz it’s about to get crazy! If you only have 3 players, you can operate a paddle with each hand…. Not easy.

